From zero to CGI hero?
My experience combining AI and Blender over two weekends - building rooms with code, not generating images.
How long does it take to go from zero to CGI hero? I spent the last two weekends finding out.
Blender is one of the most popular and widely used 3D tools in the industry, but I had no real hands-on experience with it until now. I see interior visualisations every day, on social media and elsewhere - some better, some worse.
Random thought about current quality and how will CGIs look in the future turned into setting myself a challenge: could I actually create something better with help of AI? And where would I rank, as someone who is neither a professional 3D artist nor an interior designer?
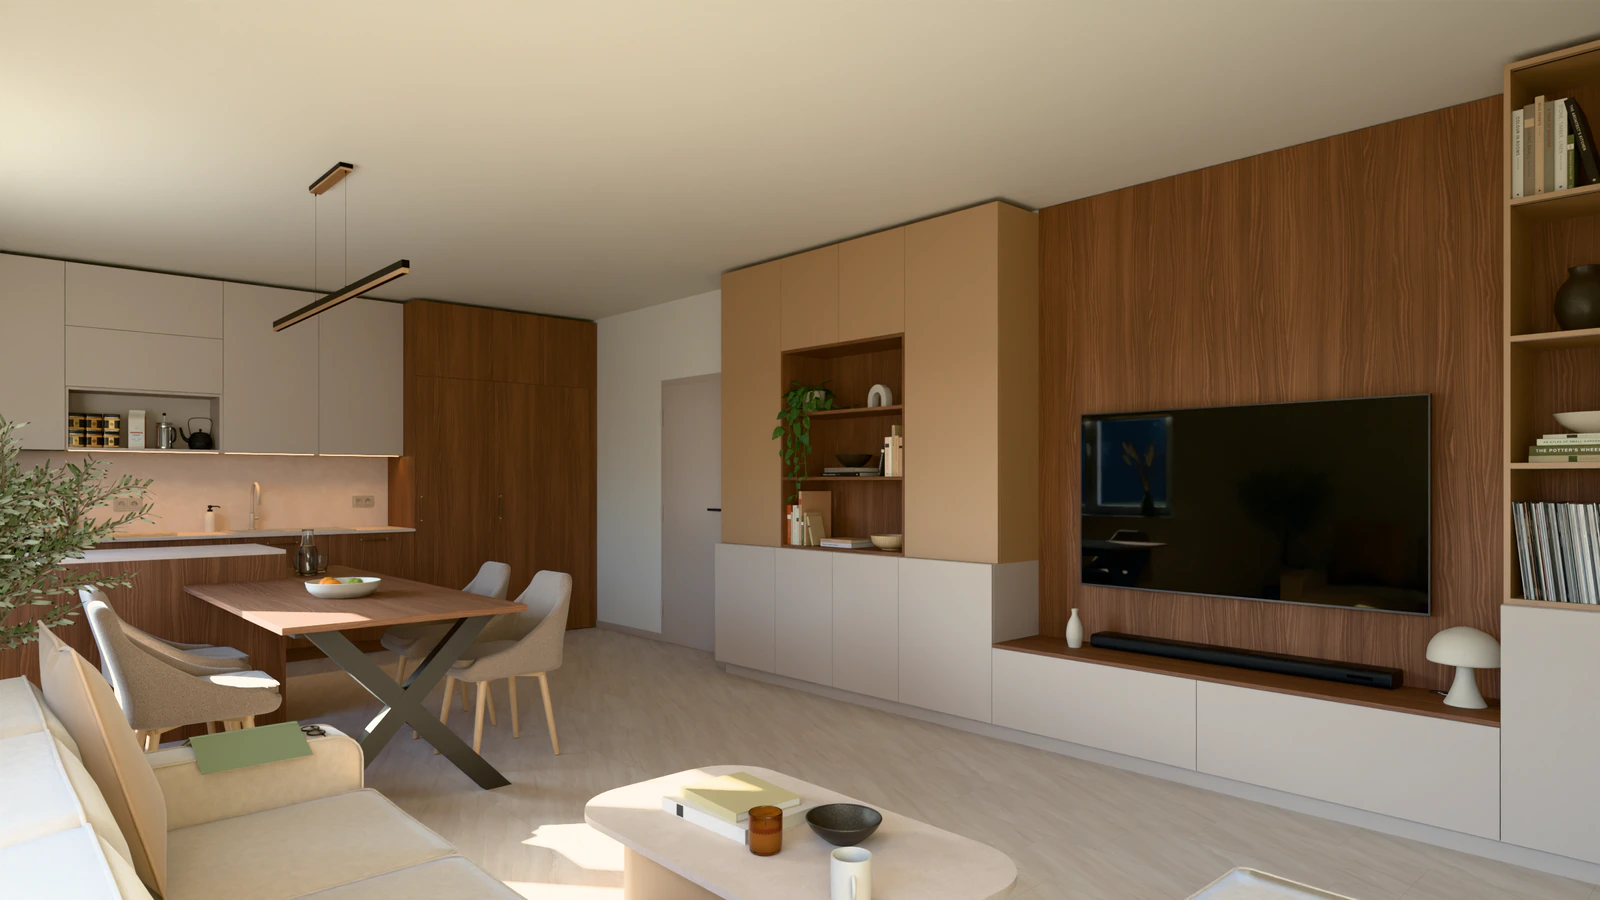
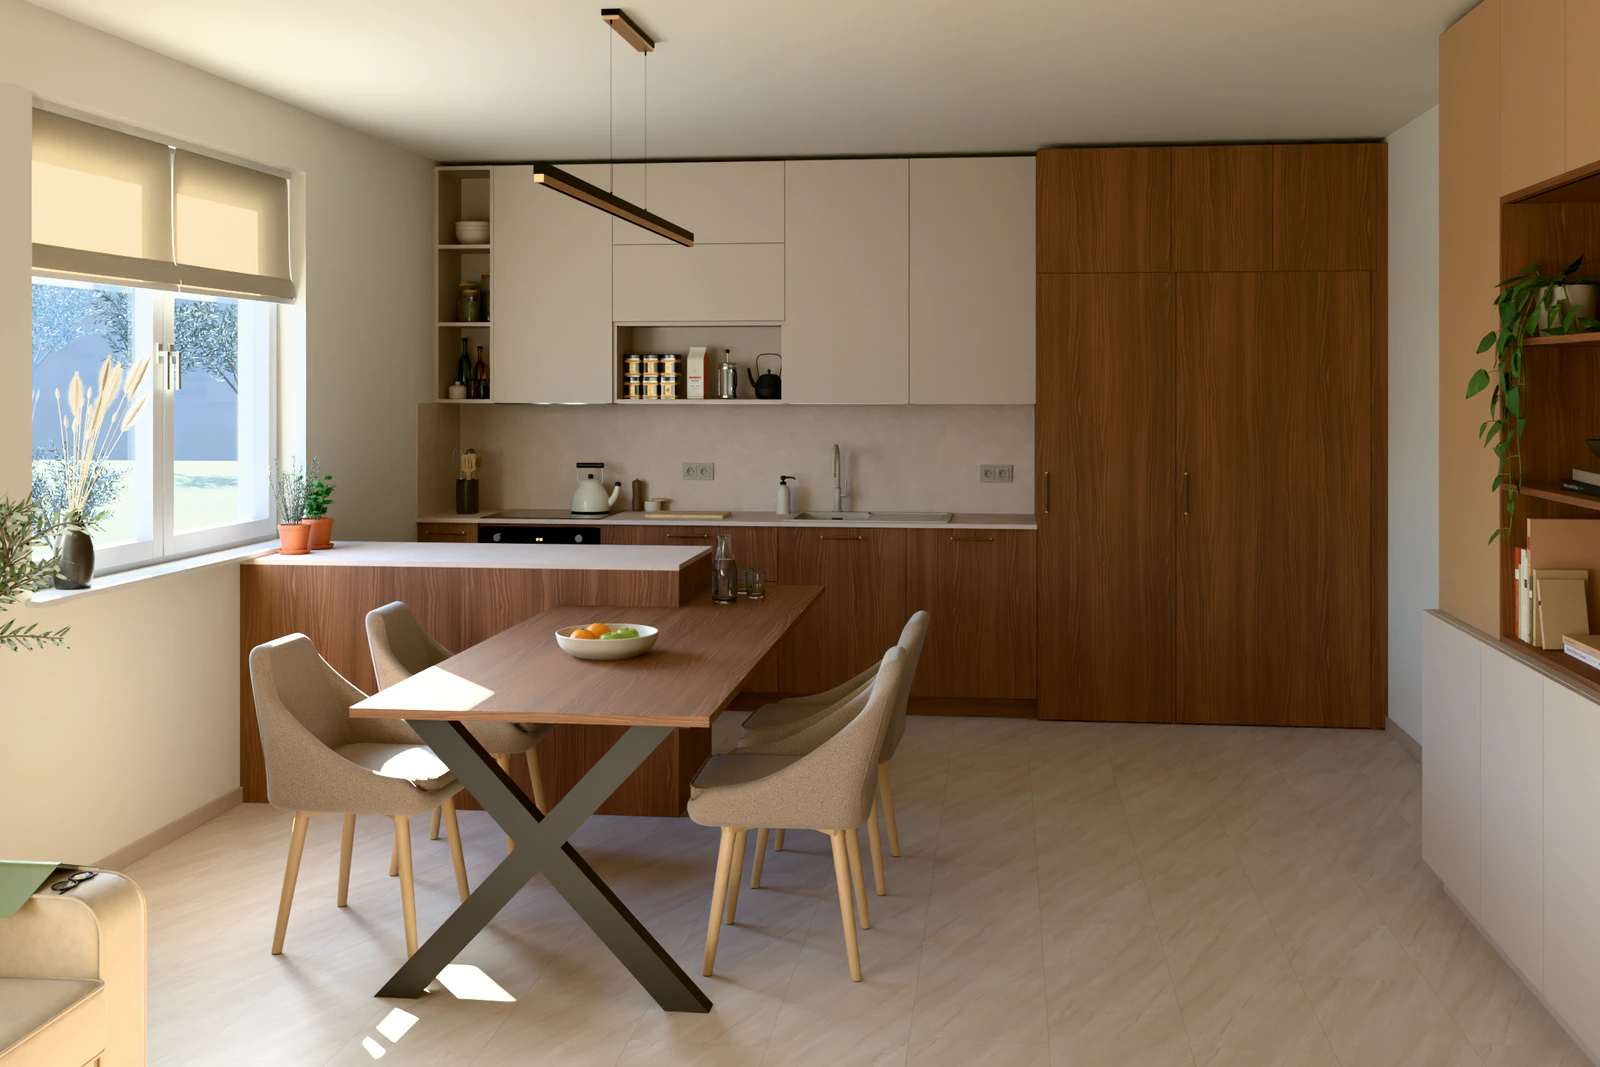
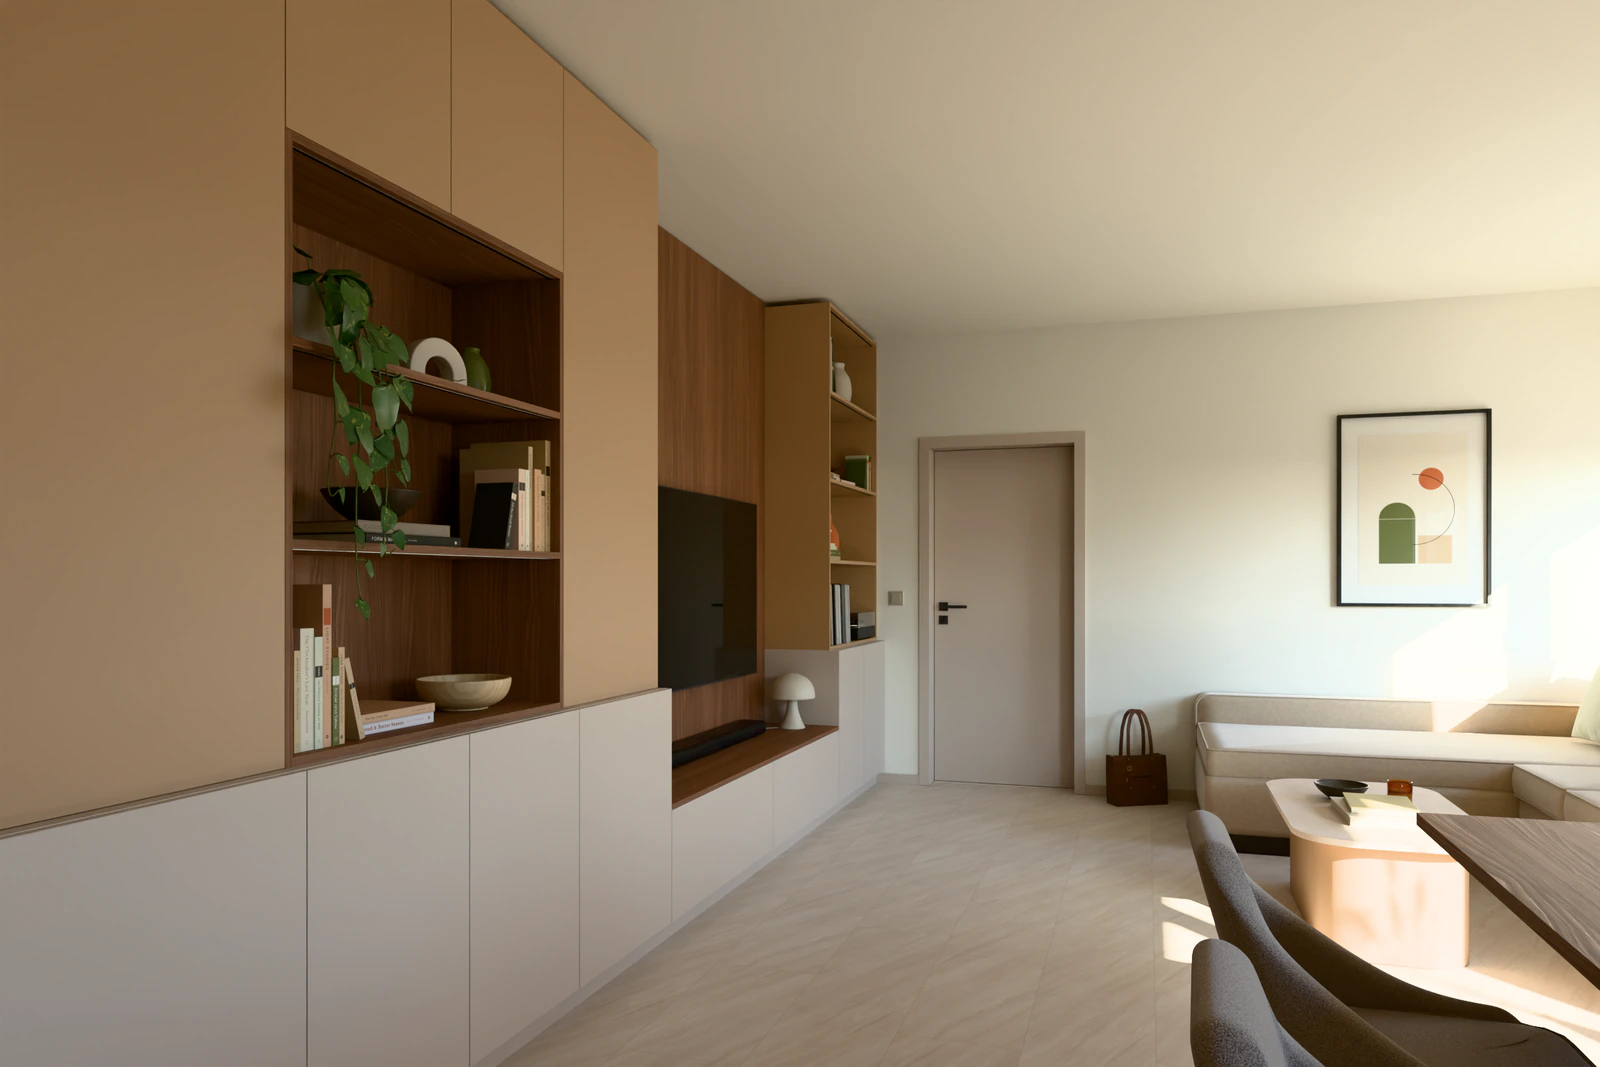
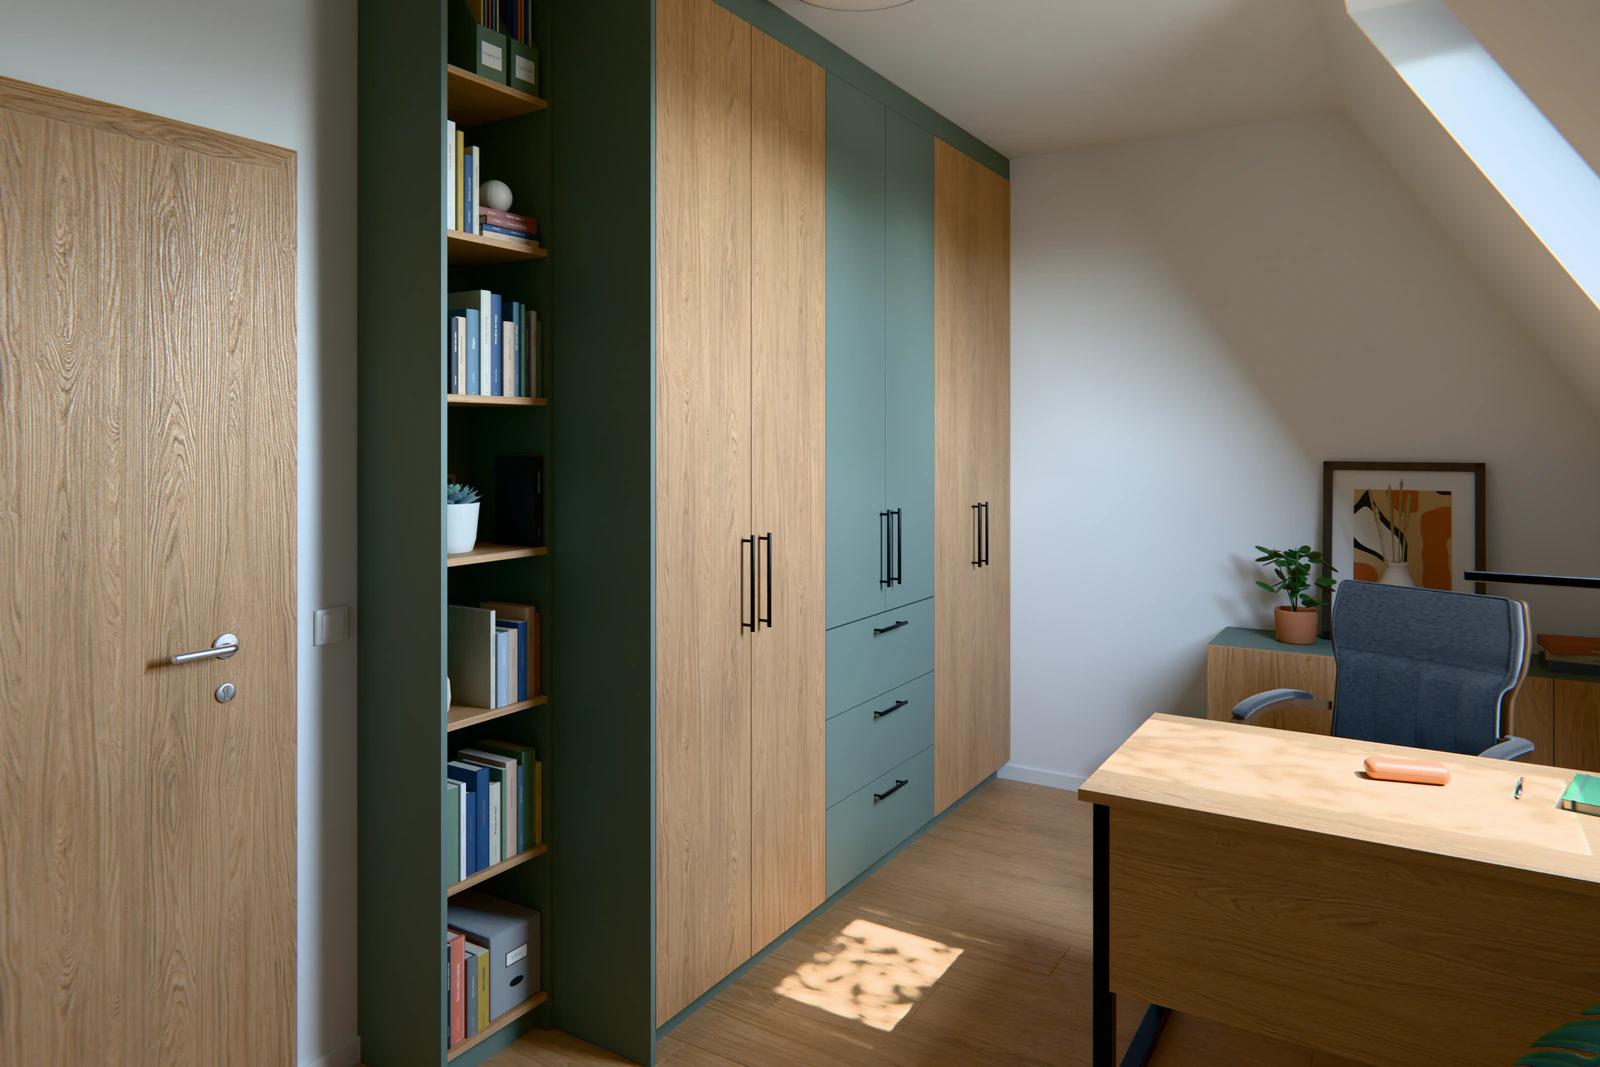
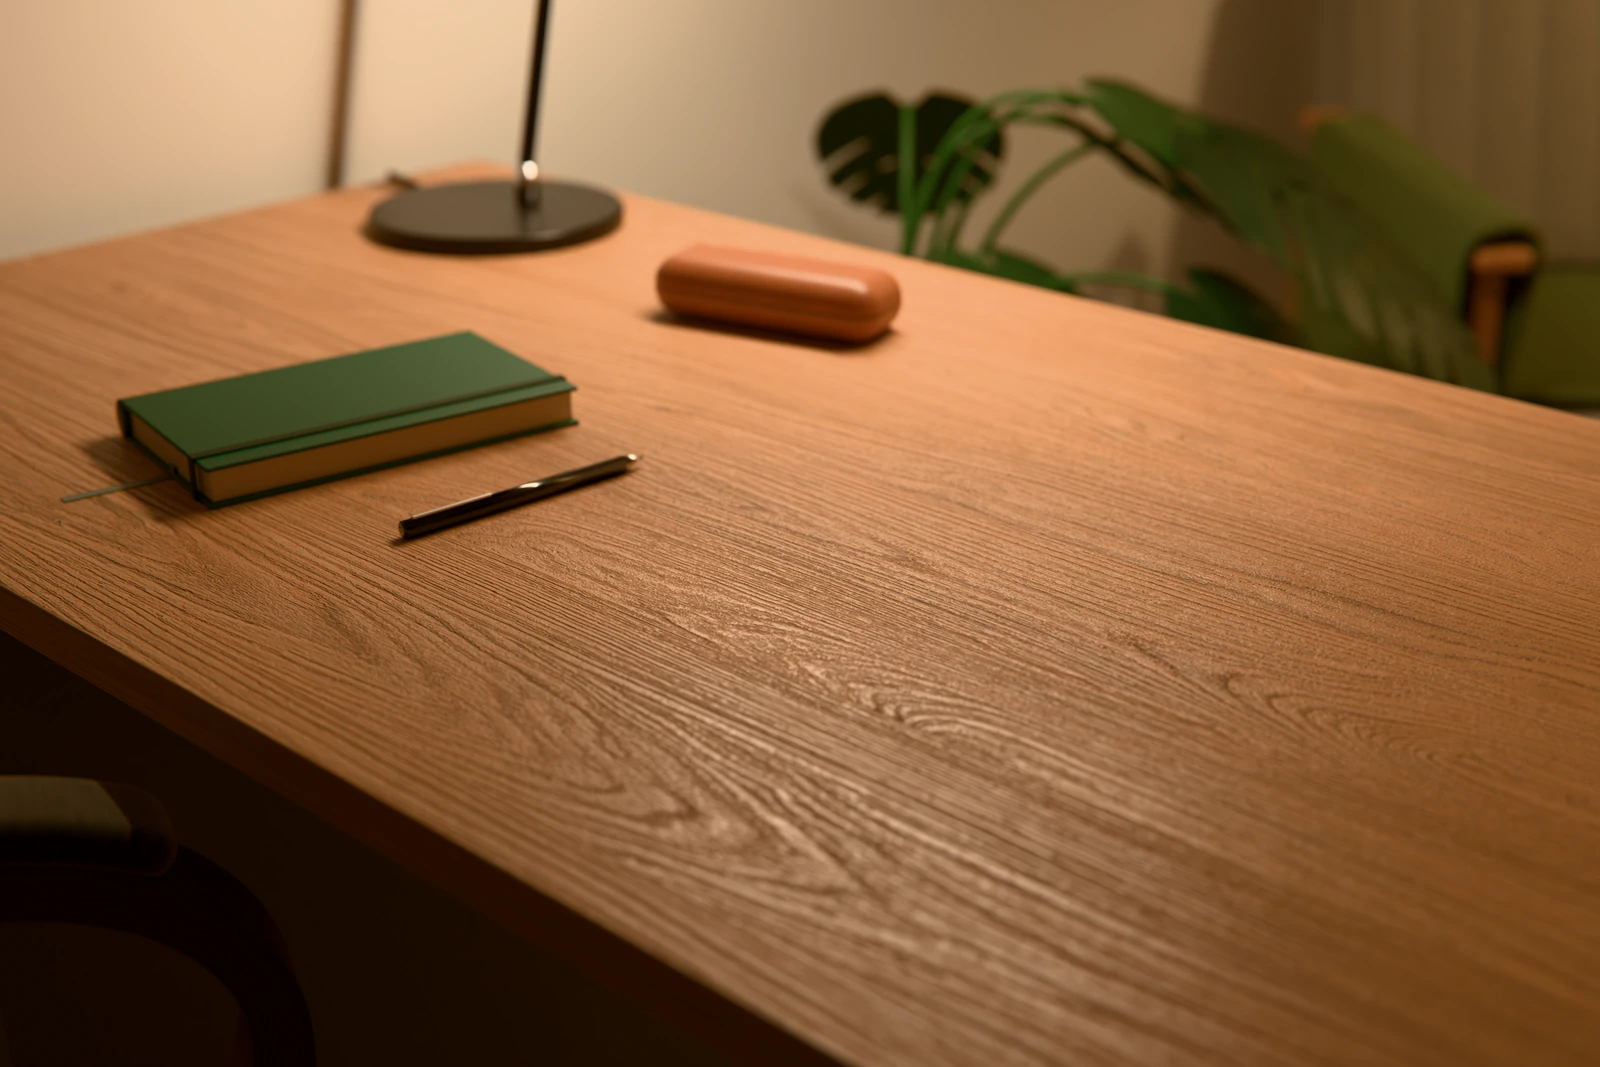
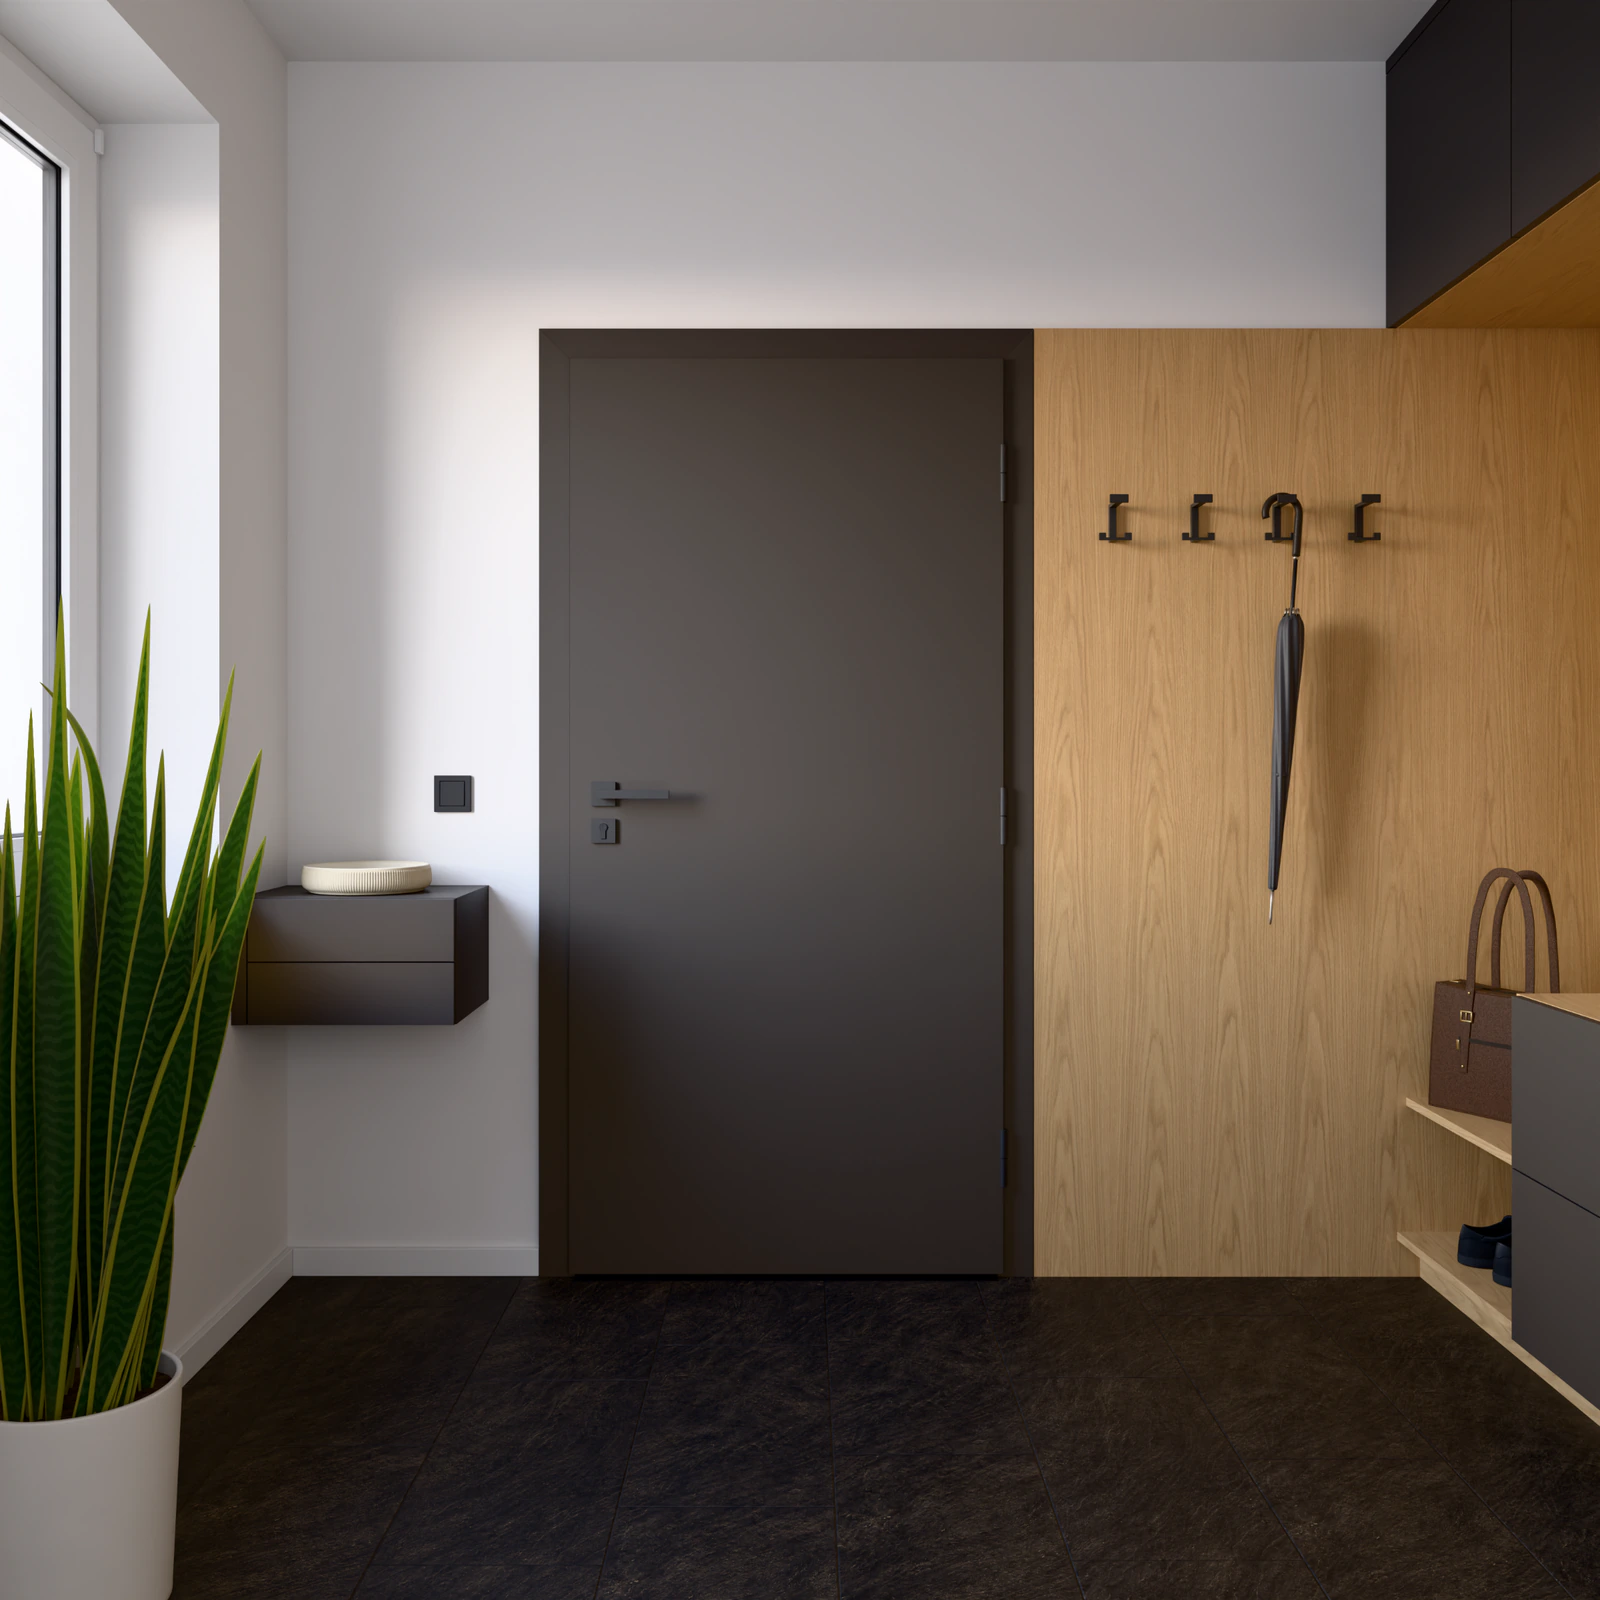
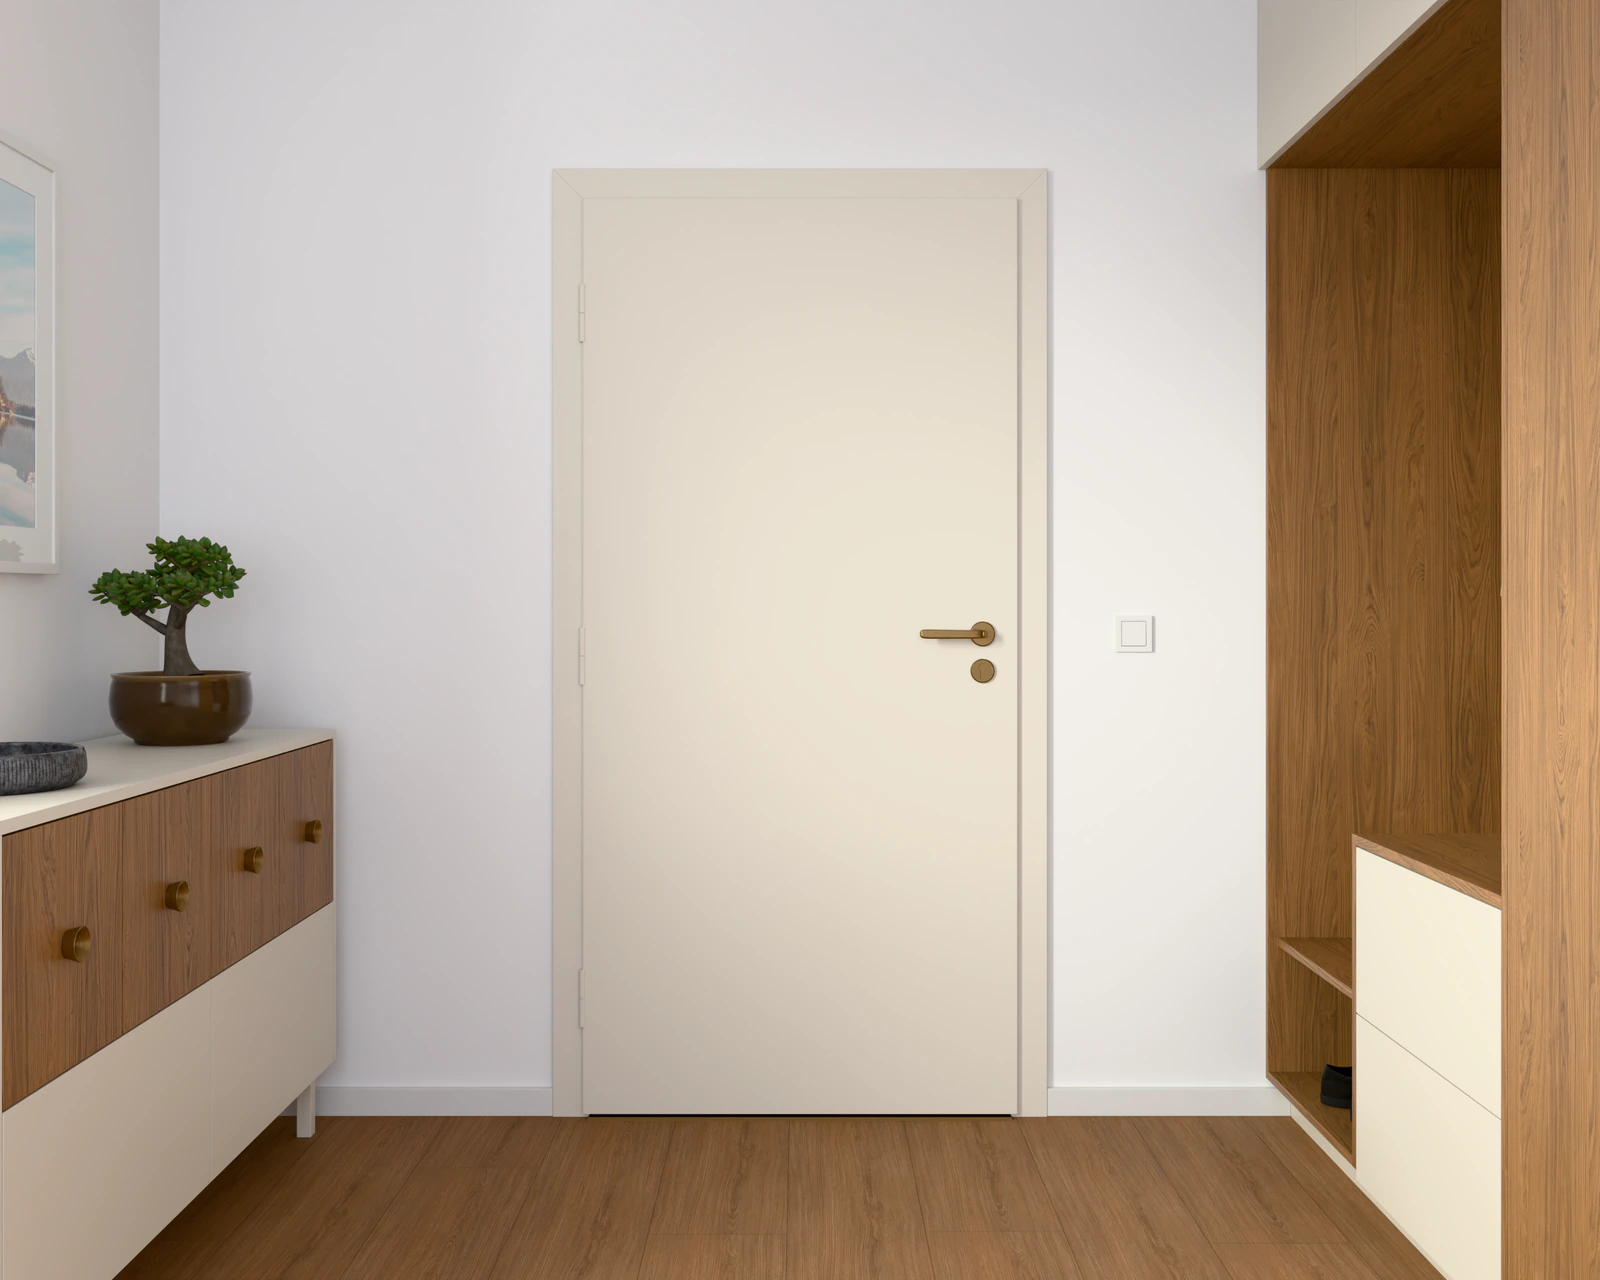
I chose Claude as the AI tool of choice - it does not draw the picture, it builds the room. I describe what I want, Claude writes the code, and Blender puts every wall, board and lamp in place - in real sizes, with the real decor scans that interior designers use in their visualisations, downloaded from EGGER website. Then a virtual camera takes the photo, the way a photographer would in a studio.
This is called programmatic design and for me it is a more interesting approach for real-world workflows, compared to AI image generation done with models like Nano Banana or ChatGPT, which produces a pattern-based picture that looks like a room, based on millions of pictures it has seen. But that room does not exist - it is only imagined, and it cannot be reliably recreated or adapted later. Mine exists in the file. I can move the camera, change a decor, and take the photo again.
It was a test of two things: what interior designer could achieve with AI as its assistant, and whether marketing content can be made faster, at a lower cost and without compromise on quality.
There was no “oneshotting it with AI”, but iterative work, improving the setup step by step. I assumed the role of an interior designer and walked Claude through the whole process - from the initial idea, through exploring options, all the way to the final polish.
This is how the process looked like.
Layout
Does it make sense, would this work, would I have something like this at home?
Claude can answer part of it with numbers. Before anything is built, it checks whether a person can walk to every chair, whether there is enough space to stand in front of every cabinet, and whether every door can open fully without hitting something. When a check fails, Claude proposes alternatives.
Whether the room also looks good is still up to me.
Construction
Would the furniture work this way? Is this how a carpenter would build it, respecting how the materials need to be processed?
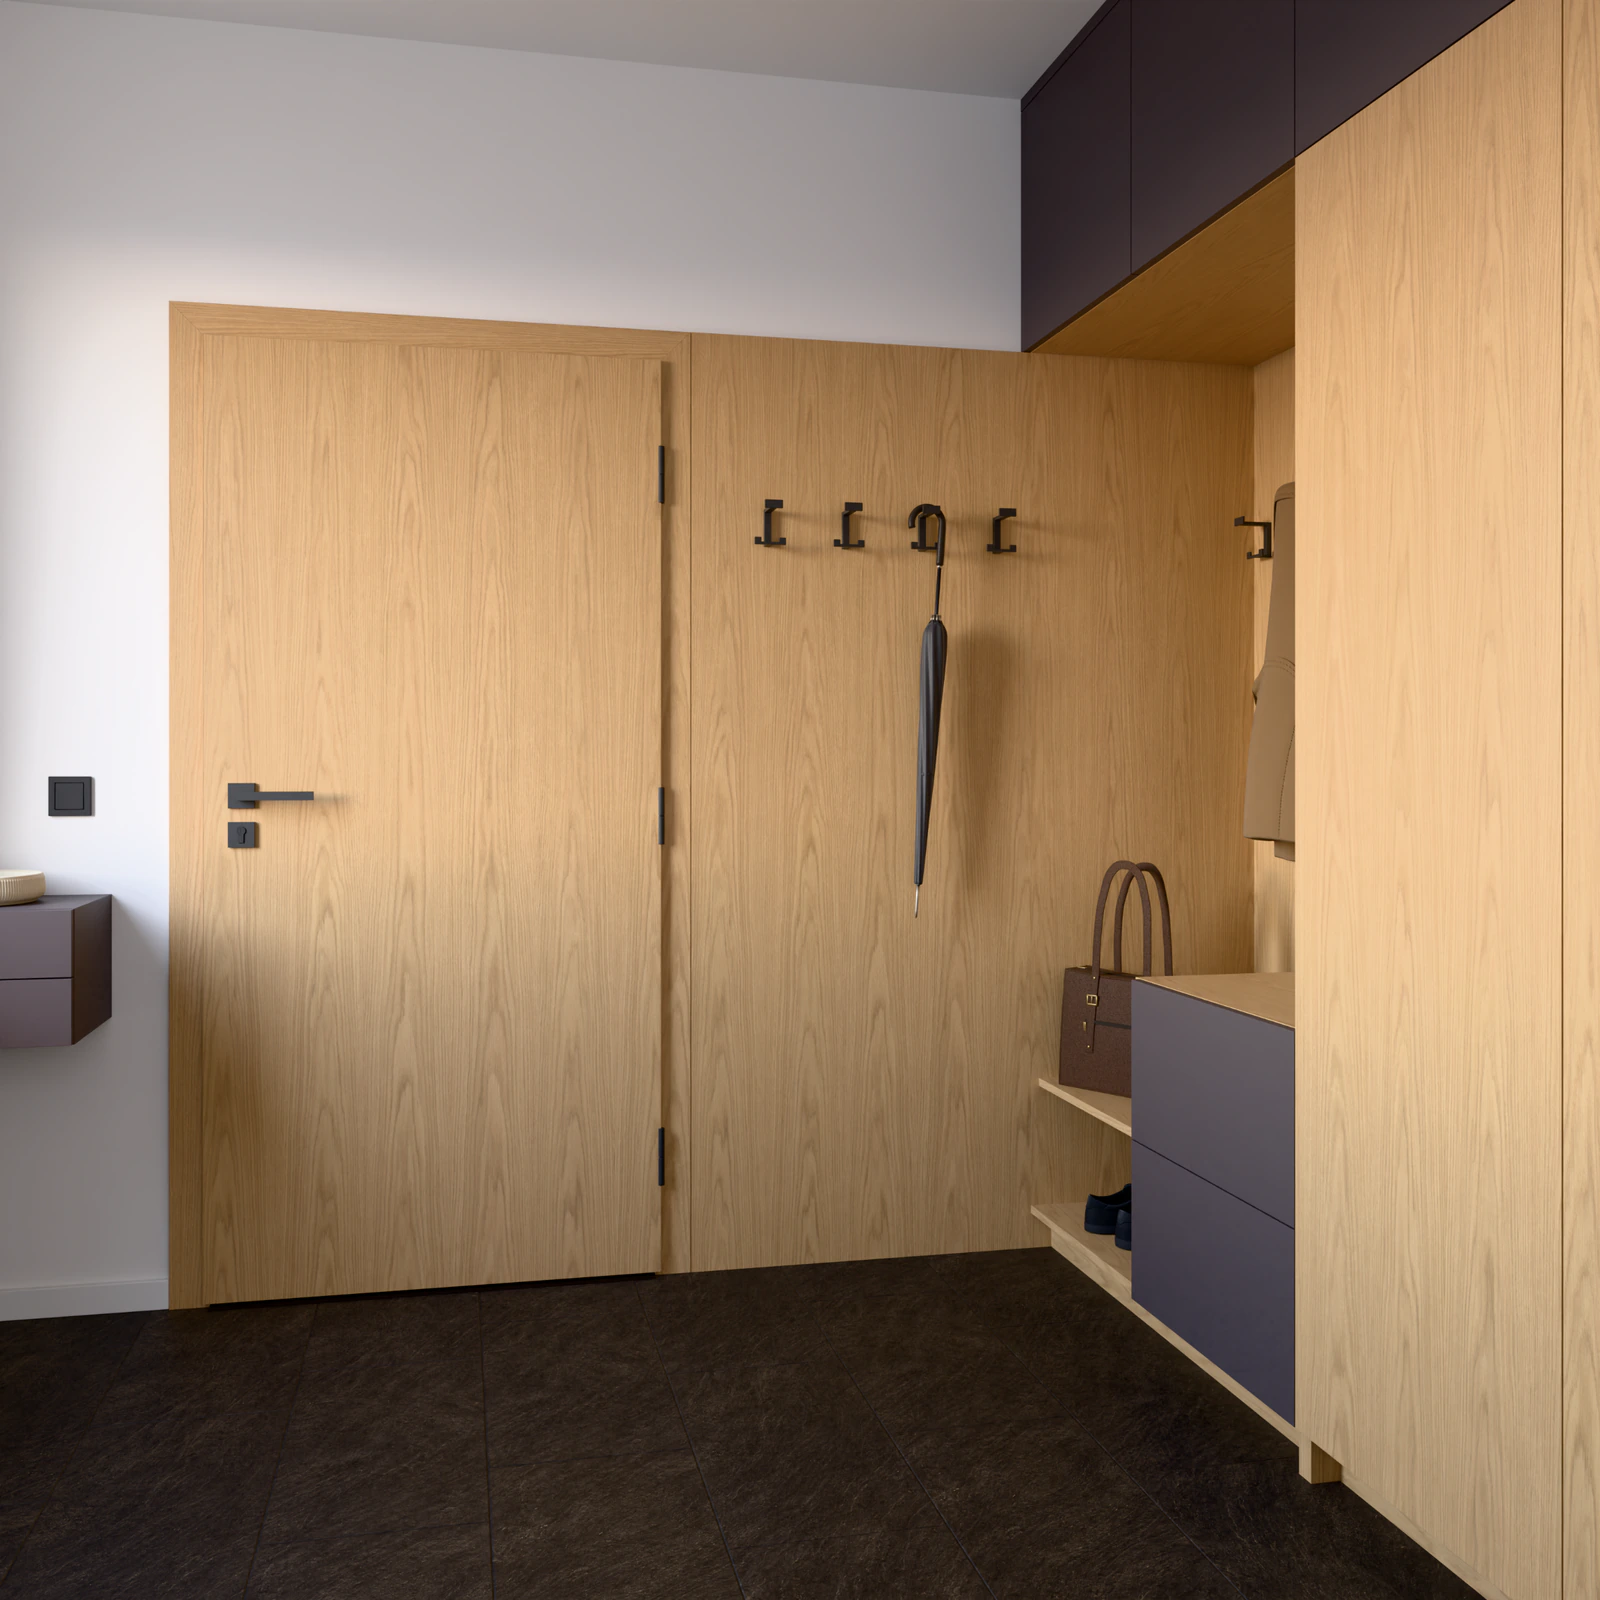
Many constructions might look good at first sight but are not possible to build - because of sizes, hinges or the way the fronts are mounted and open. To solve this, I researched furniture construction standards and joinery practice and turned the findings into skills - rules Claude follows every time it builds a piece. So every cabinet has its real sides, back panel, shelves, hinges and edge bands - following carpenters’ standards and best practice, respecting physics and what can actually be made.
Light
Colors and lighting are about balancing the real way the light works versus the need to show the surfaces and decors in good way. A purely physical light simulation often leaves some areas very dark and others overexposed - and neither shows the decor well.
The solution is to balance the light so it stays realistic, the way a photographer would capture the image - avoiding ends of a histogram.
Details
The last step is making the rooms and renders feel alive, with decorations and attention to detail. I had a rough idea of what I could achieve when I started, but I was surprised how well Claude could model accessories, such as a key bowl or a plant, turning photo of the item into a detailed 3D object.
The furniture itself was usually quite quick to do. My biggest rabbit hole: hanging a coat on a hook in a way that reflects real physics turned out to be almost impossible for me. I managed to get the coat to a shape that was “not completely bad” and then moved it behind the wardrobe, so it sits at the edge of the frame, adding atmosphere without really being seen.
Where would I rank?
That might be for you to decide. There are some shots, where I am very happy with how it turned out and would rank quite highly, but there is still work to do - mainly removing a certain plastic feel, turning the images into something that feels more like real photo.
Spending roughly something over 20 hours on this (not counting render time) and already achieving such results, the learning curve is very steep. If I wanted to try this few years back without AI, I would still be watching basic YouTube tutorials by now, not already having some results.
From experience to a plugin
I started from scratch, but over few of my demo projects, I turned the experience into my own Blender-focused Claude plugin - the skills above, working together as one process:

My takeaway
My personal takeaway as a marketing person is not that I created decent-looking renders in just 20 hours, but that I built an editable, repeatable workflow without even having the technical skills to use the software behind it. That is true potential of AI assisted workflows.
In practice, I do not think this will replace interior designers or 3D artists. But it can significantly help them produce designs and visualisations faster, more original and with potential for better overall results. More original means custom one-off decorations, instead of using stock items and having the same coffee cup in every visualisation.
A skeptic can say there are many things to improve in my examples, especially in the layout and design itself. That’s true and it’s good that it’s not perfect.
Good interiors are practical and make us feel good in them. Interior design itself is still a field that needs a human touch, judgment and real experience - not something AI can replace in few hours.